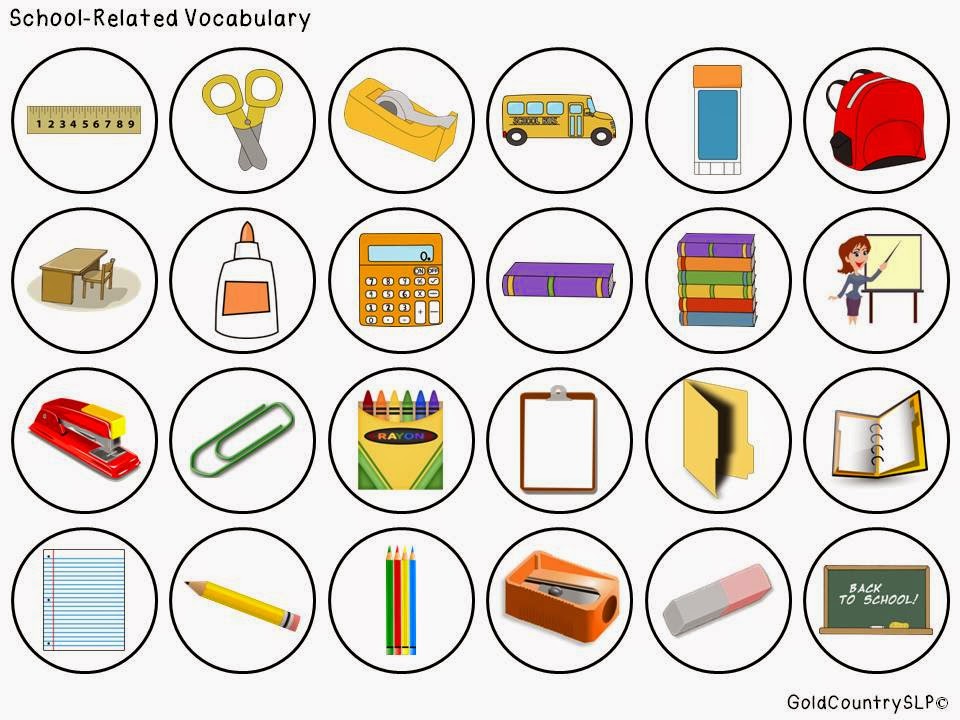
Here is a quick, easy project you
can do to add to your therapy toolbox! Address articulation, vocabulary,
categorization, synonyms and much, much more!
can do to add to your therapy toolbox! Address articulation, vocabulary,
categorization, synonyms and much, much more!
Here is what you need: A color
printer, magnetic sheets (see below), metal jar lids and template to print onto
the magnetic sheets. Avery
Magnet Sheets! Another
option: Cut magnetic stick-on strips to fit or magnetic stick-on “coins” and attach to the backs
laminated circles.
printer, magnetic sheets (see below), metal jar lids and template to print onto
the magnetic sheets. Avery
Magnet Sheets! Another
option: Cut magnetic stick-on strips to fit or magnetic stick-on “coins” and attach to the backs
laminated circles.
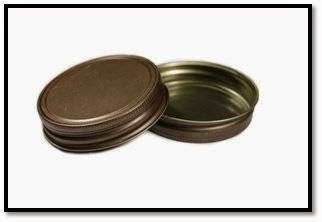
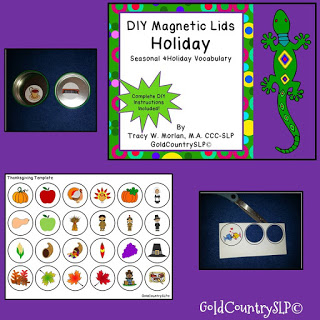
Lids! Here are some lids from
Amazon.com. These are affordable–which is great if you serve multiple school
sites! Metal
Lids!
Amazon.com. These are affordable–which is great if you serve multiple school
sites! Metal
Lids!
The magnetic sheets are very easy
to use. It is important, though, to figure out which side of the page your
printer prints on. Experiment with a blank piece of paper. My printer requires
pages to be loaded face down for printing. The magnetic sheets print on only
one side–the other side is magnetic! Now, here is a photo showing the
thickness of the magnetic sheets compared to regular paper.

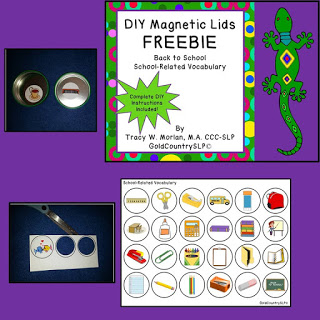
Next, you need to download the
FREEBIE template below.
FREEBIE template below.
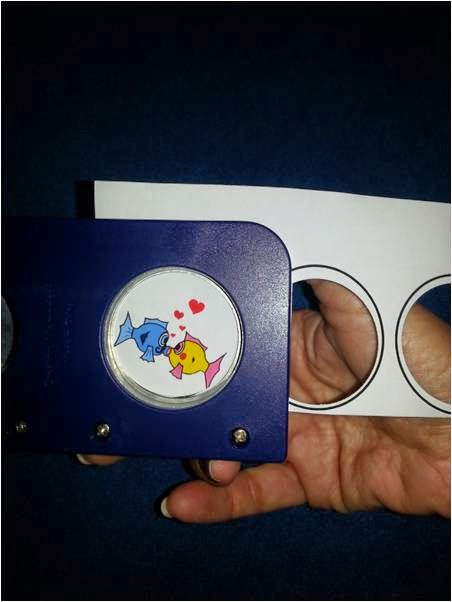
Print
out the template onto one of the magnetic sheets. You can use a scrapbook tool
to cut out the magnets as shown below. You will need to trim the edges of the
magnetic paper so it will fit into the cutter.
out the template onto one of the magnetic sheets. You can use a scrapbook tool
to cut out the magnets as shown below. You will need to trim the edges of the
magnetic paper so it will fit into the cutter.
You
can also use scissors to cut out the magnets.
can also use scissors to cut out the magnets.

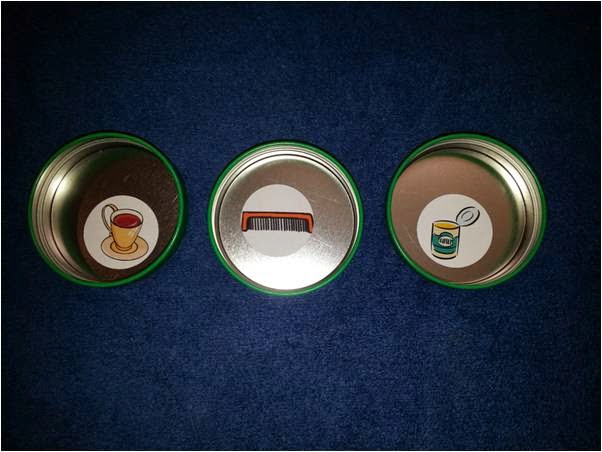
Put
the magnets on the underside of the lid and you are ready to play!
the magnets on the underside of the lid and you are ready to play!

Flip
several lids over and have your students guess at what is under them You can
also hid things under the lids for the kids to find! They will go wild!!
several lids over and have your students guess at what is under them You can
also hid things under the lids for the kids to find! They will go wild!!
Check
out the other templates I have made! Click below!
out the other templates I have made! Click below!
HOLIDAYS!!!
ARTICULATION!!!

Don’t forget your freebie!
Have FUN!


Leave a Reply